The Text
Open up a new document and create a nice background. I used MickM-green which is really turning into a trademarked green. I love it. It's not even a real color, but more and more people start to use it.
Anyhow, just make sure your document is large enough. I used 500px x 400px.

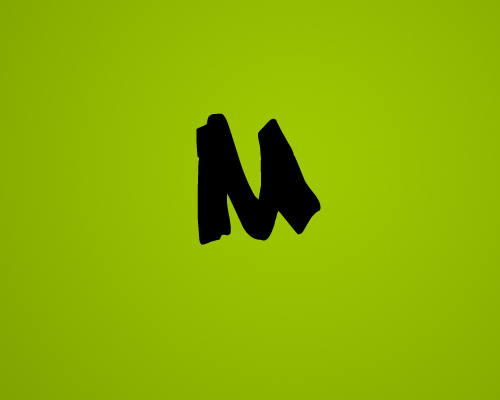
Now, on a new layer, create some text. But instead of writing the entire word on one layer, place all different letters on different layers.
I started with the M of the word "MickM". Make sure your font is nice enough to work with. With nice I mean that font needs to be thick enough. Too thin fonts will look a bit weird. Also make sure they're all black.
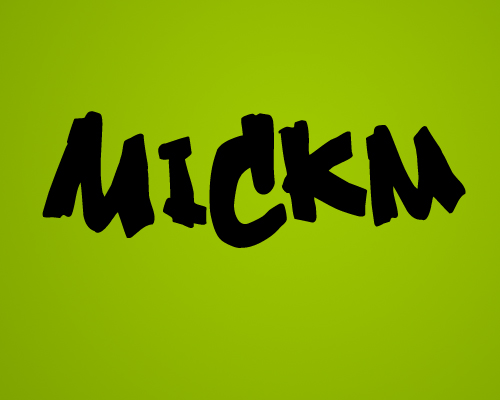
Because you're using different layers, you can always play with Ctrl+T to enlarge or scale the letters if needed. If you're done, you should have a few layers with every letter on another layer.
Making it look 3D
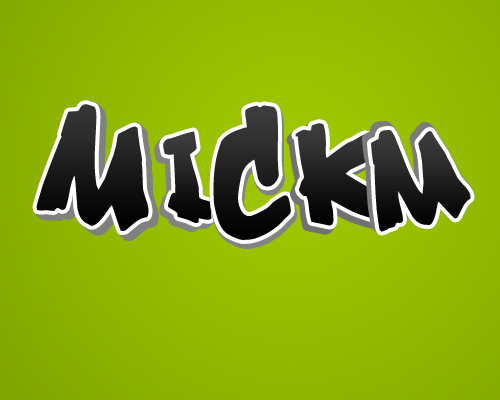
Now, on every letter add the same layer-style. What we're gonna do is add a white outer stroke that can deviate between 3px or 5px depending on the size of your font. Then add a gradient overlay and set this to SCREEN and lower the opacity of the overlay to 20%.
If you add this layer-style to one of the layers, and then right-click the layer and select "Copy Layer-Style", you can right-click every layer and choose "Paste Layer-Style". Or, if you have a lot of letters, select all layers and then paste it.

Now hide all but one layer to work on. Select your Move-Tool and while holding ALT press UP and LEFT one at a time. (LEFT, UP, LEFT, UP, LEFT, UP, etc) ...untill your letter looks like it's 3d.
Then select all the layers except the top-layer and merge them together by Ctrl+E.

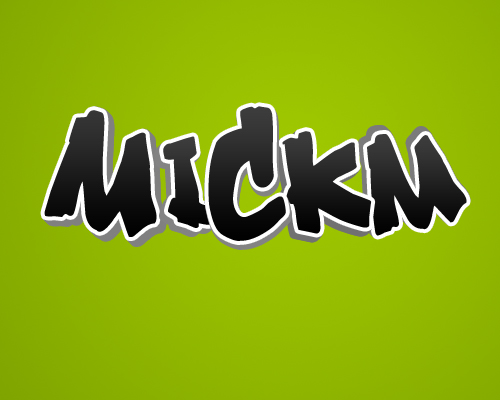
Once merged, press Ctrl+U and drag the lower slider to the left a little to make the 3d-part of your letter a little darker to make it look like the lighting is giving it that extra touch.
When you're done, merge those 2 layers together as well!

Continue repeating this step but every time, use different angles. (Left, Left, Left, etc) or (Right, Bottom, Rightm, Bottom, etc). Anything goes. Also make sure that you merge all the seperate layers. So now you should have the amount of layers you had at the beginning again!
Now move the layers around, displace them, order them the way you like it and just make sure the letters are placed the way you like it.
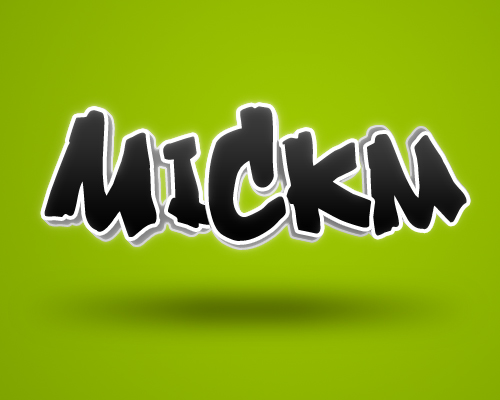
Not much I can teach you about that! I chose to let my letters overlap each other a bit. As you can see the outer letters are in the back, then come the inner letters, and the middle letter is the closest letter if, let's say, the letters are placed on a table in front of you.
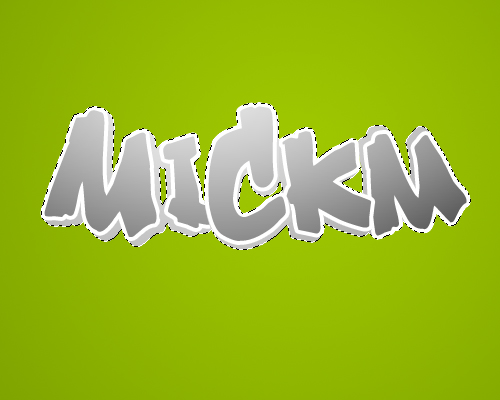
Now merge all those letters together! Then Ctrl+click on the thumbnail of the layer to select it and you'll notice you will get a selection around it.

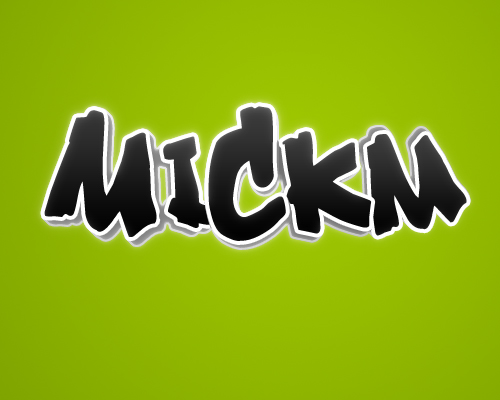
Cool 3D Text
Then add a very soft White>Transparent gradient to a new layer and lower the opacity of it to 2%-10%. Then add a very small and soft white inner glow to the entire name or word.

Now add a large, but very soft outer glow in white to the text. Set the blending-mode to Overlay and the opacity around 40%.
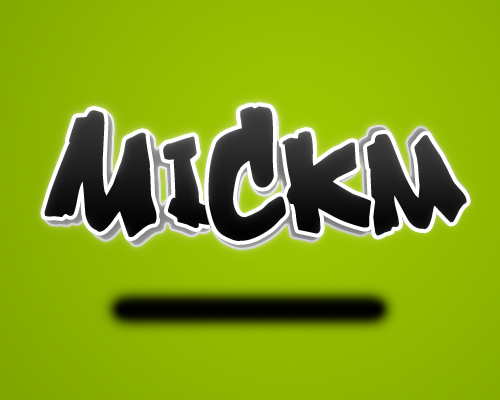
With a soft brush (45px) brush, on a new layer, while holding Shift a small straight line underneath the text. It should not cover the entire area underneath the text though.
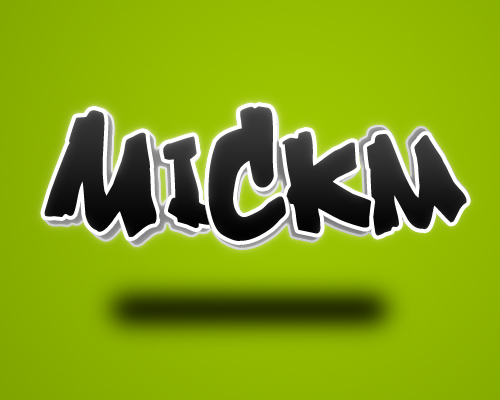
Go to Filter>Blur>Gaussian Blur and set it to 20-30. Then go to Filter>Blur>Motion Blur and set it to an amount so that the shadow covers the entire area underneath your text. Then just lower the opacity to 20-40.

On a new layer above all of it, grab a small brush around 1px-3px and use a very bright and noticable color to draw small strokes on places where we want some shine. I used red, because it's a color I haven't used in the entire image, so easy noticable.
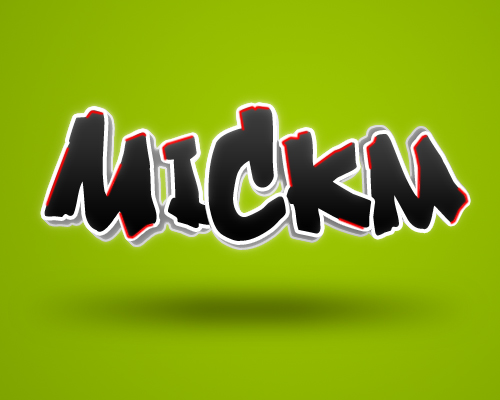
Press Ctrl+U and drag the lower slider all the way to the right to make the lines all white. Now go to Filter>Blur>Gaussian Blur and leave the settings or play around with them if you want more or less shine.
I chose to leave them as they were!

Conclusion
Now you are done with the new and improved 3d-text tutorial. Not only did you learn how to make text look 3d, you now also know how to do cool stuff with it.
You can use this technique any way you want. You can also choose to make all the angles of the letters look the same way to make them all look the same, but if you want a more playfull composition like this one, you can add some difference to make it look cooler!


Comments :
Post a Comment